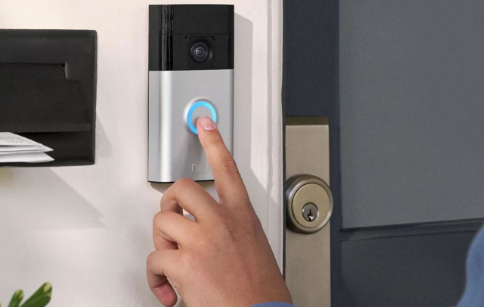
If your wireless doorbell button suddenly stops working, the issue is often not the doorbell system itself—but a simple battery problem. In many cases, a quick Orion doorbell battery replacement is all it takes to restore normal operation.
This guide walks you through a real-world, scenario-based repair process, so you can fix your doorbell in minutes without technical skills.
When Does a Doorbell Button Battery Need Replacement?
In daily use, a wireless doorbell button is exposed to weather, frequent pressing, and long standby time. Over time, the battery naturally weakens.
You may notice:
- Doorbell does not ring consistently
- Receiver inside the house still works, but button does not respond
- Signal becomes weak or intermittent
- LED indicator on the button is dim or off
- Total failure with no response at all
These are classic signs that your doorbell button battery is drained, not the entire system failing.
Common Battery Types in Orion Wireless Doorbells
Most Orion-style wireless doorbell buttons use small coin cell batteries, commonly:
- CR2032
- CR2025
- CR2016
Always check the back cover or inside the battery compartment before replacing, as models may vary.
How to Replace Battery in a Wireless Doorbell Button (Step-by-Step)
Follow this simple real-life replacement process:
Step 1: Remove the Doorbell Button from the Wall
Gently slide or unclip the button from its mounting bracket.
Most models are designed for easy removal without tools.
Step 2: Open the Battery Compartment
Look for a small notch or screw on the back.
- If it has a screw → use a small screwdriver
- If it snaps open → gently pry open with a flat tool
Be careful not to crack the plastic casing.
Step 3: Take Out the Old Battery
Remove the old coin cell battery carefully.
Notice how it is placed:
- The positive side (+) usually faces outward
- The negative side (-) faces inward
Step 4: Insert the New Battery
Place the new battery in the same orientation.
Make sure:
- It fits snugly
- Contacts are clean
- No dust or corrosion is present
Step 5: Reassemble the Button
Close the cover and reattach it to the wall mount.
Press the button once to test functionality.
Quick Real-World Example
Imagine this scenario:
You’re expecting a delivery, but the courier keeps ringing and nothing happens inside the house. You check the receiver—it’s fine. The problem? The outdoor button hasn’t been replaced in over 2 years.
After swapping a simple CR2032 battery, the doorbell immediately works again.
This is why battery replacement is one of the most overlooked but important home maintenance tasks.
Tips to Extend Doorbell Battery Life
To avoid frequent replacements:
- Install the button in a shaded area if possible
- Avoid direct rain exposure
- Use high-quality lithium coin cells
- Check battery once a year
- Clean battery contacts during replacement
Why Orion Doorbell Battery Replacement Is So Important
A weak doorbell button can cause:
- Missed visitors or deliveries
- False assumption of system failure
- Unnecessary replacement of the whole unit
In reality, over 80% of wireless doorbell issues are battery-related, not hardware failure.
Replacing a wireless doorbell button battery is one of the fastest home fixes you can do.
With a simple Orion doorbell battery replacement, your system can go from “not working” to fully functional in just a few minutes—no tools, no technician, no cost-heavy repair.